
こんにちは、ヨリユです。
Winter ’23でリリースされた「LightningModal」を用いて、モーダル画面を作成しました。
今回は、作成したもの、サンプルコードを共有させていただきます。
開発者ガイドはこちら。
【この記事から学べること】
・入力画面からモーダル画面を呼び出す方法
・入力画面からモーダル画面に値を渡す方法
・モーダル画面から入力画面に値を返す方法
作成したもの
簡単な仕様の説明です。
- 「名前」と「年齢」を入力し「確認」ボタンをクリックする。
- モーダル画面が開く。
- モーダル画面上で入力内容を確認する。
- 「はい」または「いいえ」ボタンをクリックする。
- モーダル画面が閉じる。
- 「はい」の場合は「確認済」、「いいえ」の場合は「確認要」にステータスが更新される。
それでは実際に画面を見ていきます。
【初期表示】
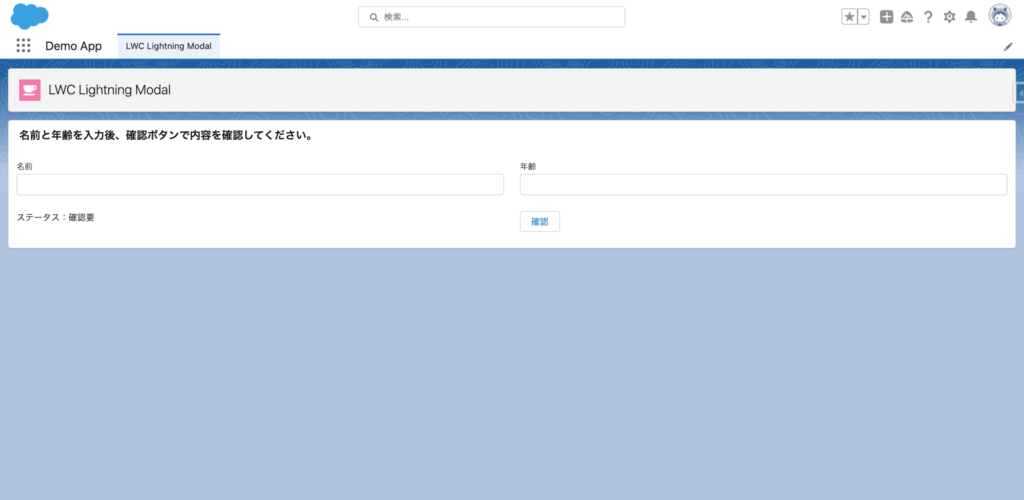
- 「名前」と「年齢」を入力し「確認」ボタンをクリックします。
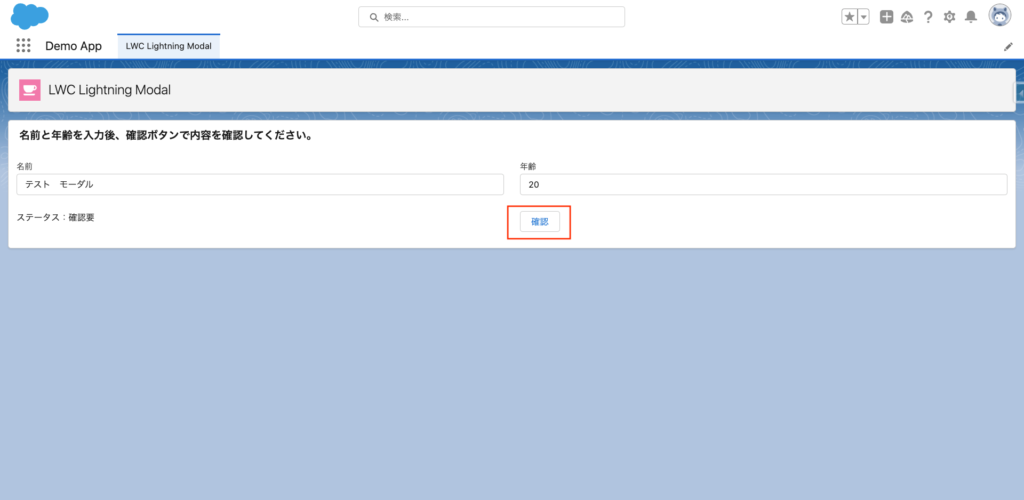
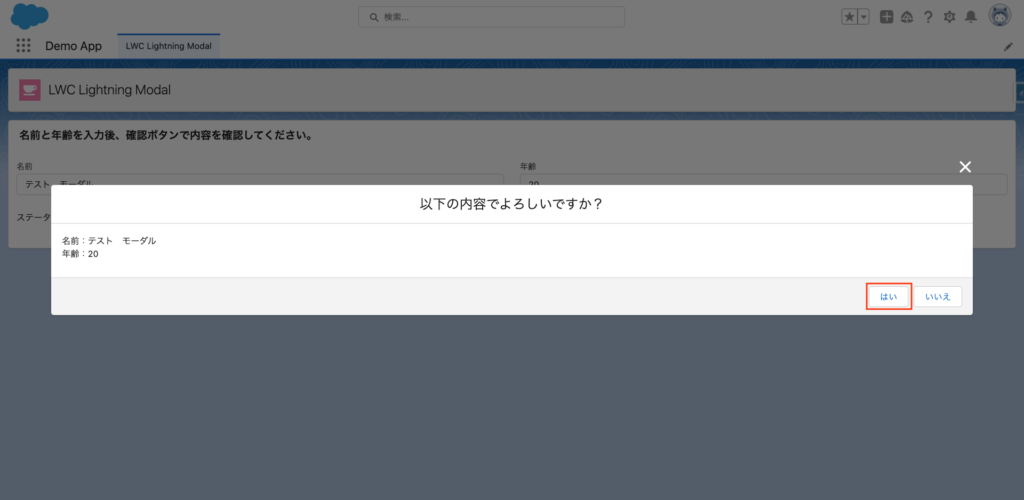
- モーダル画面が開きます。
- モーダル画面上で入力内容を確認します。
- 「はい」ボタンをクリックします。
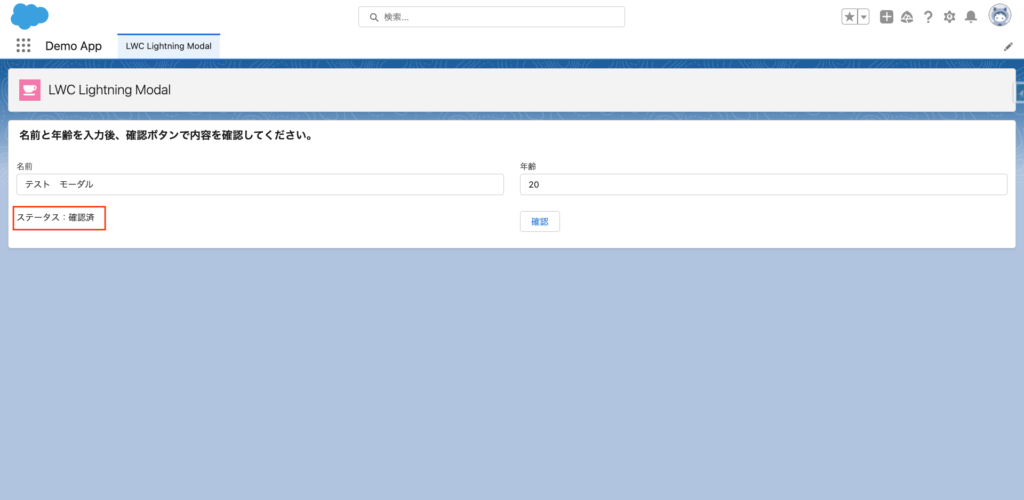
- モーダル画面が閉じます。
- 要確認から「確認済」に更新されます。
サンプルコード
【LWC:myModalApp】
<template>
    <lightning-card title="名前と年齢を入力後、確認ボタンで内容を確認してください。">
        <lightning-layout multiple-rows>
            <lightning-layout-item size="6" padding="around-small">
                <lightning-input type="text" label="名前" lwc:ref="name"></lightning-input>
            </lightning-layout-item>
            <lightning-layout-item size="6" padding="around-small">
                <lightning-input type="number" label="年齢" lwc:ref="age"></lightning-input>
            </lightning-layout-item>
            <lightning-layout-item size="6" padding="around-small">
                ステータス:{result}
            </lightning-layout-item>
            <lightning-layout-item size="6" padding="around-small">
                <lightning-button
                    onclick={modalOpen}
                    aria-haspopup="dialog"
                    label="確認">
                </lightning-button>
            </lightning-layout-item>
        </lightning-layout>
    </lightning-card>
</template>
import { LightningElement } from 'lwc';
import MyModal from 'c/myModal';
export default class MyApp extends LightningElement {
result = '確認要';
async modalOpen() {
this.result = await MyModal.open({
size: 'large',
description: 'demo',
content: [
{ name: '名前', val: this.refs.name.value },
{ name: '年齢', val: this.refs.age.value }
]
});
if (!this.result) this.result = '確認要';
}
}<?xml version="1.0" encoding="UTF-8"?>
<LightningComponentBundle xmlns="http://soap.sforce.com/2006/04/metadata">
<apiVersion>58.0</apiVersion>
<isExposed>true</isExposed>
<targets>
<target>lightning__AppPage</target>
</targets>
</LightningComponentBundle>【LWC:myModal】
<template>
    <lightning-modal-header label="以下の内容でよろしいですか?"></lightning-modal-header>
    <lightning-modal-body>
        <template for:each={content} for:item="i">
            <p key={i.name}>{i.name}:{i.val}<br></p>
        </template>
    </lightning-modal-body>
    <lightning-modal-footer>
        <lightning-button label="はい" onclick={handleYes} class="slds-m-right_x-small"></lightning-button>
        <lightning-button label="いいえ" onclick={handleNo}></lightning-button>
    </lightning-modal-footer>
</template>
import { api } from 'lwc';
import LightningModal from 'lightning/modal';
export default class MyModal extends LightningModal {
@api content = [];
handleYes() {
this.close('確認済');
}
handleNo() {
this.close('確認要');
}
}<?xml version="1.0" encoding="UTF-8"?>
<LightningComponentBundle xmlns="http://soap.sforce.com/2006/04/metadata">
<apiVersion>58.0</apiVersion>
<isExposed>true</isExposed>
</LightningComponentBundle>おわりに
いかがでしたでしょうか。
今回は「LightningModal」を用いて、モーダル画面を作成してみました。
これまでのモーダル画面作成では、HTMLが複雑になる印象がありました。
「LightningModal」を使うことで、すっきり分かりやすくなった気がします。
最後までご覧いただき、ありがとうございました!