こんにちは、ヨリユです。
本記事では、LWCでCSVファイルをインポートする方法をご紹介します。
CSVファイルをインポートするサンプルLWCを作成しましたので、共有させていただきます。
【この記事から学べること】
・LWCでレコード詳細画面からCSVファイルをインポートする方法
LWCでCSVファイルをインポート:動作を見てみる
作成したLWCの簡単な仕様は下記のとおりです。
仕様:取引先詳細画面で取引先責任者を一括(複数)インポートする。
以下の流れで動作を確認していきます。
- 「ファイルをアップロード」をクリックし、CSVファイルを選択する。
- 画面上の「ファイル名」と「件数」が更新される。
- ボタン「インポート」をクリックする。
- 当該取引先に紐づいて、取引先責任者レコードが作成される。
動作確認に仕様するデータです。
| LastName | FirstName | |
|---|---|---|
| てすと | 一郎 | test_ichiro@test.com |
| てすと | 二郎 | test_jiro@test.com |
| てすと | 三郎 | test_saburo@test.com |
それでは画面で確認していきます。
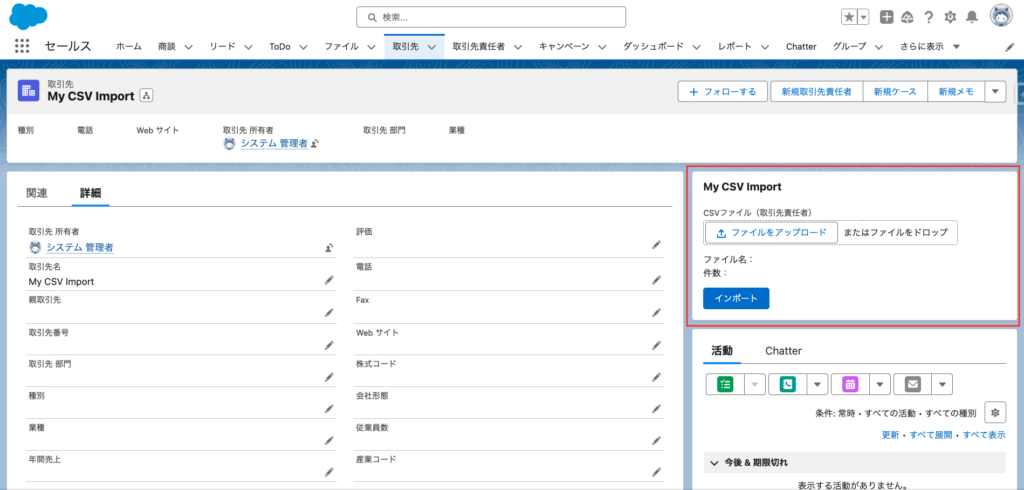
【初期表示:取引先詳細画面】

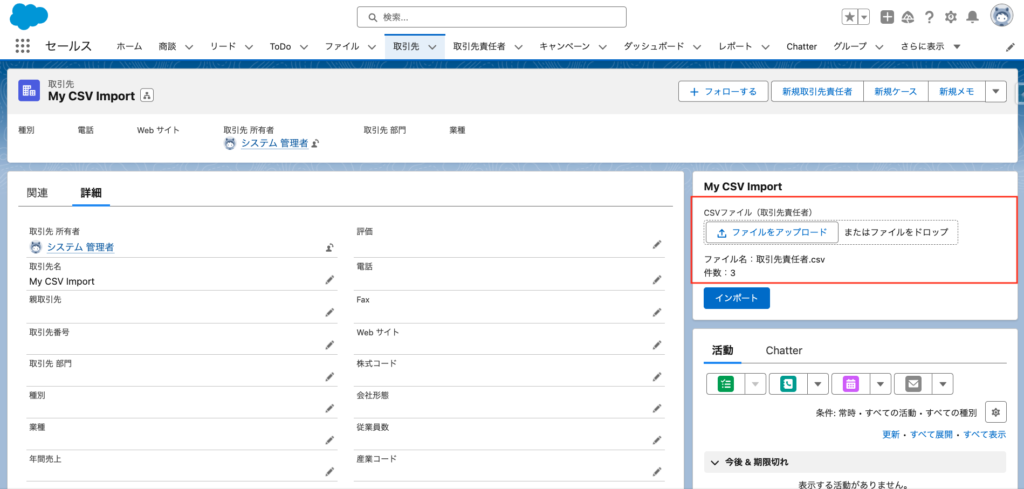
- 「ファイルをアップロード」をクリックし、CSVファイルを選択する。
- 画面上の「ファイル名」と「件数」が更新される。

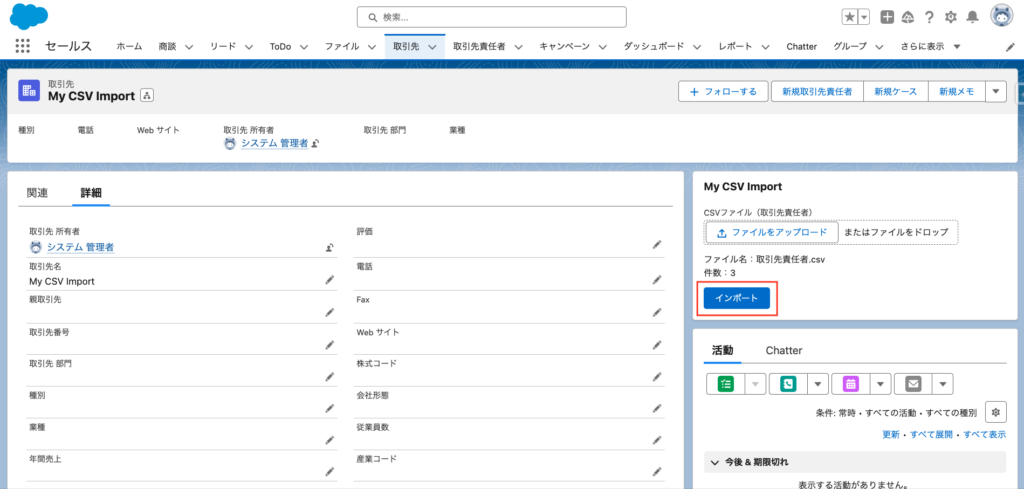
- ボタン「インポート」をクリックする。

- 当該取引先に紐づいて、取引先責任者レコードが作成される。

LWCでCSVファイルをインポート:サンプルコード
【LWC:myCSVImport】
<template>
	<lightning-card title="My CSV Import">
		<div class="slds-var-m-around_medium">
			<lightning-input
				type="file"
				label="CSVファイル(取引先責任者)"
				accept="text/csv"
				onchange={handleChangeFile}>
			</lightning-input>
			<div class="slds-m-vertical_small">
				<p>ファイル名:{importFileName}</p>
				<p>件数:{importFileRowCount}</p>
			</div>
			<lightning-button variant="brand" label="インポート" onclick={handleImport}></lightning-button>
		</div>
	</lightning-card>
</template>
import { LightningElement, api } from 'lwc';
import { ShowToastEvent } from 'lightning/platformShowToastEvent';
import importContacts from '@salesforce/apex/MyCSVImportController.importContacts';
export default class MyCSVImport extends LightningElement {
@api recordId;
importFileData;
importFileName;
importFileRows;
importFileRowCount;
// ファイル選択時の処理
handleChangeFile(event) {
const fileReader = new FileReader();
const selectedFile = event.detail.files[0];
this.importFileName = selectedFile.name;
fileReader.onloadend = () => {
this.importFileData = fileReader.result;
this.importFileRows = this.importFileData.split(/\r\n|\n/);
this.importFileRowCount = this.importFileRows.length - 1;
}
fileReader.readAsText(selectedFile, 'Shift_JIS');
}
// インポートボタン押下時の処理
async handleImport() {
this.checkFileSelected();
const rows = this.importFileRows;
const contacts = [];
for(let i = 1; i < rows.length; i++) {
const cols = rows[i].split(',');
contacts.push({
lastName: cols[0],
firstName: cols[1],
email: cols[2],
});
}
try {
await importContacts({ accId: this.recordId, contacts: JSON.stringify(contacts) });
const showSuccess = new ShowToastEvent({
title: 'Success',
message: 'インポート成功。',
variant: 'success',
});
this.dispatchEvent(showSuccess);
}
catch(e) {
const showError = new ShowToastEvent({
title: 'Error',
message: e.body.message,
variant: 'error',
});
this.dispatchEvent(showError);
}
}
// ファイル選択済みチェック処理
checkFileSelected() {
if(!this.importFileData) {
const showError = new ShowToastEvent({
title: 'Error',
message: 'ファイルが選択されていません。',
variant: 'error',
});
this.dispatchEvent(showError);
return;
}
}
}<?xml version="1.0" encoding="UTF-8"?>
<LightningComponentBundle xmlns="http://soap.sforce.com/2006/04/metadata">
<apiVersion>58.0</apiVersion>
<isExposed>true</isExposed>
<targets>
<target>lightning__RecordPage</target>
</targets>
</LightningComponentBundle>【Apex:MyCSVImportController】
public with sharing class MyCSVImportController {
    @AuraEnabled
    public static void importContacts(String accId, String contacts){

        List<Object> targetContactList = (List<Object>)JSON.deserializeUntyped(contacts);
        List<Contact> importContactList = new List<Contact>();

        for(Object obj : targetContactList) {
            Map<String, Object> fieldNameToValue = (Map<String, Object>)obj;
            Contact c = new Contact();
            c.AccountId = accId;
            c.LastName = (String)fieldNameToValue.get('lastName');
            c.FirstName = (String)fieldNameToValue.get('firstName');
            c.email = (String)fieldNameToValue.get('email');
            importContactList.add(c);
        }

        try {
            insert importContactList;
        }
        catch(DmlException e) {
            throw e;
        }
    }
}
おわりに
いかがでしたでしょうか。
今回はLWCでCSVファイルをインポートする方法をご紹介しました。
すこしでもご参考になれば幸いです。
最後までご覧いただき、ありがとうございました!


